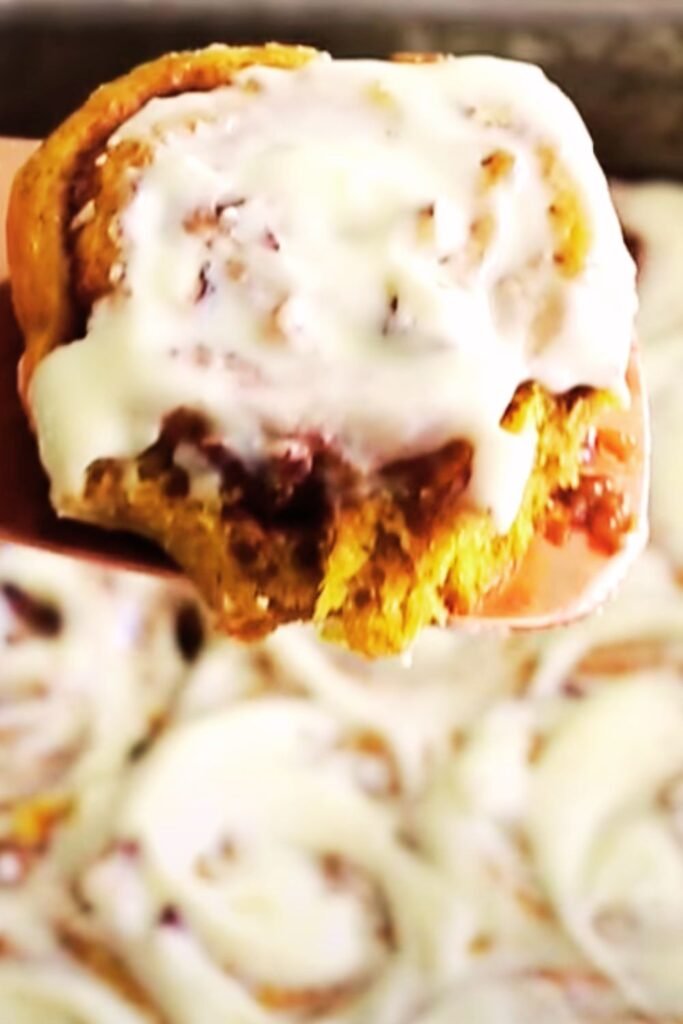
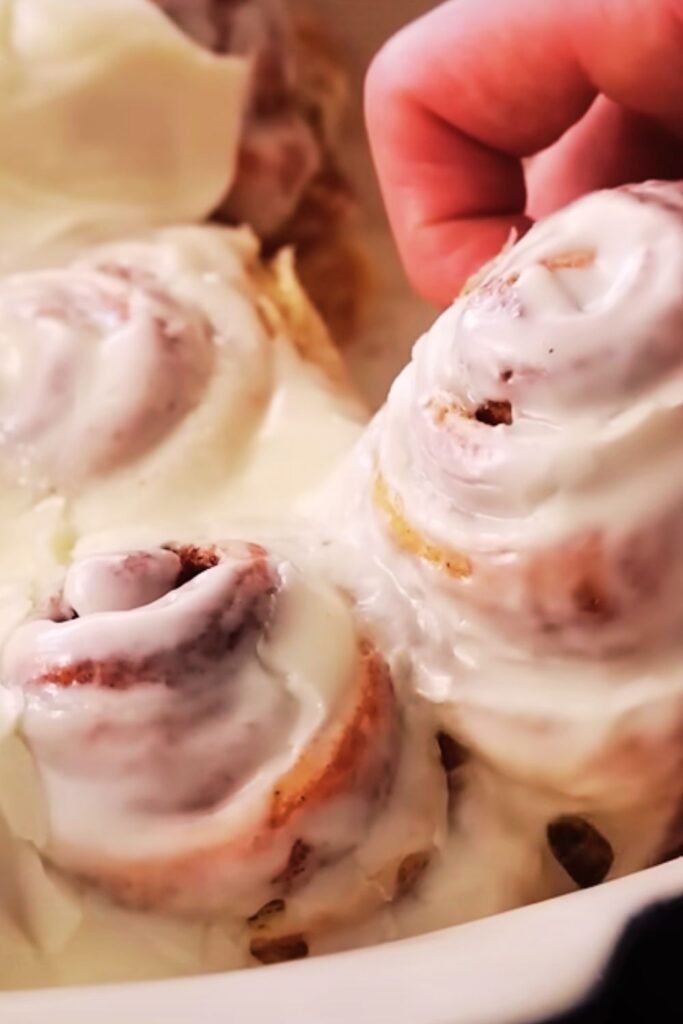
When autumn arrives and pumpkin season is in full swing, I find myself drawn to creating recipes that capture the essence of fall in every bite. These Brown Butter Cinnamon Sugar Pumpkin Brioche Buns have become my absolute favorite way to celebrate the season. The combination of nutty brown butter, warm cinnamon, and creamy pumpkin creates a symphony of flavors that transforms ordinary brioche into something extraordinary.
I’ve spent countless hours perfecting this recipe, and what makes these buns truly special is the depth of flavor achieved through browning the butter. This simple technique adds a caramelized, almost nutty complexity that elevates the entire baking experience. The pumpkin doesn’t just add moisture and color—it contributes a subtle earthiness that perfectly complements the rich brioche dough.
Understanding the Magic Behind These Buns
Let me share what makes these brioche buns so exceptional. The foundation starts with a classic brioche dough, which I’ve enhanced with pumpkin puree and warm spices. Brioche, known for its butter-rich composition and tender crumb, provides the perfect canvas for autumn flavors.
Brown Butter: The process of browning butter creates what French chefs call “beurre noisette”—literally meaning “hazelnut butter.” When butter is heated past its melting point, the milk solids caramelize, developing a complex, nutty flavor that transforms any baked good.
Pumpkin Integration: Unlike many pumpkin recipes where the flavor gets lost, I’ve carefully balanced the pumpkin content to ensure it shines through without overwhelming the brioche’s delicate texture.
Cinnamon Sugar Coating: This isn’t just a simple dusting. I create a specialized coating that adheres beautifully to the warm buns, creating a slightly crispy exterior that contrasts beautifully with the soft interior.
Essential Ingredients and Their Roles
| Ingredient | Quantity | Purpose | Notes |
|---|---|---|---|
| Bread Flour | 4 cups (480g) | Structure and gluten development | Higher protein content essential for brioche texture |
| Pumpkin Puree | 1 cup (240g) | Moisture, flavor, and color | Use canned or fresh—ensure it’s well-drained |
| Unsalted Butter | 8 tablespoons (113g) | Fat content and browning | Must be room temperature for proper incorporation |
| Active Dry Yeast | 2¼ teaspoons (7g) | Leavening agent | Proof in warm milk to ensure activity |
| Whole Milk | ½ cup (120ml) | Liquid component | Warmed to 110°F for yeast activation |
| Large Eggs | 3 whole + 1 yolk | Richness and binding | Room temperature for better emulsification |
| Granulated Sugar | ⅓ cup (67g) | Sweetness and yeast food | Divided between dough and coating |
| Ground Cinnamon | 2 teaspoons | Warm spice flavor | Freshly ground preferred |
| Fine Sea Salt | 1 teaspoon | Flavor enhancement | Balances sweetness |
| Vanilla Extract | 1 teaspoon | Aromatic depth | Pure vanilla only |
Step-by-Step Preparation Method
Creating the Brown Butter Foundation
I always start by browning my butter because it needs to cool before incorporating into the dough. Place the butter in a small saucepan over medium heat, stirring constantly with a whisk. The butter will melt, bubble vigorously, then begin to foam. Continue cooking until the foam subsides and the butter turns golden amber with a nutty aroma—this usually takes 5-7 minutes. You’ll hear the butter stop sizzling as intensely, and you’ll see golden-brown bits at the bottom of the pan. These browned milk solids are flavor gold, so make sure to scrape them into your mixing bowl along with the butter. Let this cool to room temperature.
Preparing the Dough Base
In a large mixing bowl, I combine the warm milk with a pinch of sugar and sprinkle the yeast over the surface. Let this proof for about 5 minutes until it becomes foamy—this tells me the yeast is active and ready to work its magic.
While the yeast proofs, I whisk together the pumpkin puree, eggs, egg yolk, vanilla extract, and the remaining sugar in a separate bowl. The mixture should be smooth and well-combined. I then add the cooled brown butter, whisking until everything is thoroughly incorporated.
Building the Brioche Dough
In the bowl of a stand mixer fitted with the dough hook, I combine the bread flour, cinnamon, and salt. I create a well in the center and pour in both the yeast mixture and the pumpkin mixture. Starting on low speed, I mix until a shaggy dough forms, then gradually increase to medium speed.
Here’s where patience becomes crucial. Brioche dough requires extended kneading to develop the proper gluten structure while incorporating all that butter. I knead for 12-15 minutes until the dough becomes smooth, elastic, and slightly tacky but not sticky. The dough should pass the windowpane test—when you stretch a small piece thin enough to see light through it without tearing.
First Rise and Shaping
I transfer the dough to a lightly oiled bowl, cover with plastic wrap, and let it rise in a warm, draft-free location for 1.5 to 2 hours, or until doubled in size. The pumpkin in the dough can slow down the rising process slightly, so I’m patient and let the yeast do its work.
After the first rise, I gently deflate the dough and turn it out onto a lightly floured surface. I divide it into 12 equal portions, weighing each piece to ensure uniform buns—each should weigh approximately 85-90 grams.
To shape each bun, I roll the dough portion into a smooth ball by cupping my hand over it and moving in small circles on the work surface. The key is creating surface tension without incorporating too much additional flour.
Second Rise and Preparation
I arrange the shaped buns on two parchment-lined baking sheets, spacing them about 3 inches apart to allow for expansion. Cover with clean kitchen towels and let rise for another 45-60 minutes until they’re puffy and nearly doubled in size.
During the last 15 minutes of rising, I preheat my oven to 375°F (190°C) and prepare my cinnamon sugar coating by combining ½ cup granulated sugar with 2 teaspoons ground cinnamon in a shallow bowl.
Baking to Perfection
Just before baking, I brush each bun with beaten egg wash (1 egg beaten with 1 tablespoon milk) for that beautiful golden finish. I bake the buns for 18-22 minutes, rotating the pans halfway through to ensure even browning. They’re done when they’re golden brown and sound hollow when tapped on the bottom.
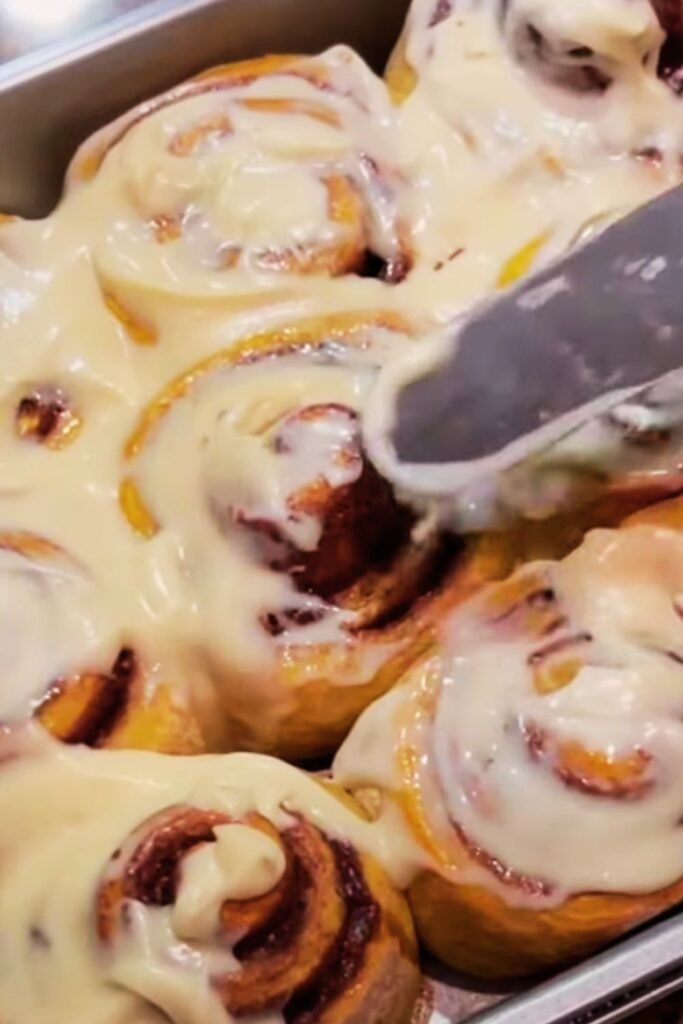
The moment they come out of the oven, while still warm, I brush each bun with melted butter and immediately roll in the cinnamon sugar mixture. This technique ensures the coating adheres properly and creates that irresistible sweet, spiced exterior.
Advanced Techniques for Superior Results
Temperature Control
Maintaining proper dough temperature throughout the process is crucial for brioche success. I use an instant-read thermometer to ensure my milk is exactly 110°F when proofing yeast—too hot will kill the yeast, too cool won’t activate it properly.
Gluten Development
The extended kneading time isn’t arbitrary. Brioche requires strong gluten development to support the high fat content. I know the dough is ready when it’s smooth, elastic, and makes a slapping sound against the bowl sides during kneading.
Proofing Environment
I create an ideal proofing environment by placing the covered dough bowl on top of my refrigerator or in an oven with just the light on. Consistent warmth (around 75-80°F) ensures steady, even rising.
Troubleshooting Common Issues
| Problem | Likely Cause | Solution |
|---|---|---|
| Dense, heavy buns | Under-kneaded dough or inactive yeast | Knead longer; test yeast freshness |
| Uneven browning | Oven hot spots or incorrect rack position | Rotate pans during baking; use center rack |
| Dry texture | Overbaking or insufficient butter | Monitor baking time; measure ingredients carefully |
| Poor rise | Old yeast or too-cool environment | Use fresh yeast; ensure warm proofing area |
| Gummy interior | Underbaking or cutting too soon | Bake until internal temperature reaches 190°F |
Flavor Variations and Adaptations
While I adore the classic version, I’ve experimented with several delicious variations that maintain the brioche’s integrity while offering new flavor profiles.
Maple Pecan Version: I substitute 2 tablespoons of the sugar with pure maple syrup and fold in ½ cup chopped toasted pecans during the final minutes of kneading.
Spiced Apple Addition: I add ½ cup finely diced apple (patted dry) along with a pinch of nutmeg and allspice to the dough.
Orange Cardamom Twist: I incorporate the zest of one orange and replace half the cinnamon with ground cardamom for a more exotic flavor profile.
Storage and Serving Recommendations
These buns are absolutely divine when served warm, but they store beautifully for several days. I keep them in an airtight container at room temperature for up to 3 days. For longer storage, I wrap them individually in plastic wrap and freeze for up to 3 months.
To refresh day-old buns, I warm them in a 300°F oven for 5-7 minutes, which restores their soft texture and awakens the spices. I never microwave brioche, as it can make the texture rubbery.
Serving Suggestions
I love serving these buns as part of a fall brunch spread alongside fresh fruit and artisanal coffee. They’re equally wonderful as an afternoon treat with tea or as a special breakfast on weekend mornings. For entertaining, I arrange them on a rustic wooden board with small bowls of additional cinnamon sugar and softened butter for guests who want to add extra indulgence.
The buns pair beautifully with apple cider, whether hot or cold, and they make an excellent addition to Thanksgiving morning breakfast traditions. I’ve also served them at autumn dinner parties as a unique bread course that guests always remember.
Nutritional Considerations
While these are certainly an indulgent treat, the pumpkin adds beneficial nutrients including vitamin A, fiber, and potassium. Each bun contains approximately 285 calories, making them a reasonable splurge when enjoyed as part of a balanced diet.
For those with dietary restrictions, I’ve successfully made gluten-free versions using a high-quality gluten-free flour blend, though the texture is slightly different from traditional brioche. The key is adding xanthan gum if it’s not already in your flour blend.
The Science Behind Perfect Brioche
Understanding the science helps achieve consistent results. Brioche is an enriched dough, meaning it contains high amounts of fat and eggs. This enrichment tenderizes the gluten structure, creating the characteristic soft, pillowy texture. The brown butter not only adds flavor but also contributes to the Maillard reaction during baking, enhancing both taste and color.
The pumpkin puree adds moisture and natural sugars that help with browning, but it also affects the dough’s hydration level. I’ve calibrated this recipe to account for the moisture content, ensuring the dough maintains proper consistency without becoming too wet or sticky.
Seasonal Baking Tips
Autumn baking presents unique challenges due to fluctuating temperatures and humidity levels. I always check my yeast’s expiration date before beginning, as cooler weather can slow down fermentation. If my kitchen is particularly cool, I might extend rising times by 15-30 minutes.
Pumpkin puree can vary in consistency between brands, so I sometimes drain it through a fine-mesh strainer for 15 minutes if it seems particularly wet. This prevents the dough from becoming too hydrated.
Equipment Recommendations
While you can make brioche by hand, a stand mixer makes the process significantly easier and more consistent. I use a KitchenAid with the dough hook attachment, and the 12-15 minute kneading time is hands-off, allowing me to prep other ingredients.
A kitchen scale is invaluable for consistent results. Measuring flour by weight rather than volume eliminates variables that can affect the dough’s texture. I also recommend an instant-read thermometer for checking milk temperature and ensuring the buns are fully baked.
Questions and Answers
Q: Can I make the dough ahead of time? Yes! After the first rise, you can punch down the dough, shape it into a disk, wrap tightly in plastic wrap, and refrigerate for up to 24 hours. Let it come to room temperature before shaping the buns.
Q: Why is my brown butter separating when I add it to the mixture? This usually happens if the brown butter is still too warm when added to the other ingredients. Make sure it’s cooled to room temperature, and add it gradually while whisking constantly.
Q: Can I substitute the pumpkin puree with something else? Sweet potato puree works wonderfully as a substitute, maintaining similar moisture and color. You could also use butternut squash puree for a slightly different but equally delicious flavor.
Q: How do I know when the buns are properly proofed? Gently press the dough with your fingertip. If it springs back slowly and leaves a slight indentation, it’s ready. If it springs back quickly, it needs more time. If it doesn’t spring back at all, it may be over-proofed.
Q: Can I freeze the shaped, unbaked buns? Absolutely! After shaping, place the buns on a baking sheet and freeze until solid, then transfer to freezer bags. When ready to bake, thaw at room temperature for 2-3 hours until doubled in size, then bake as directed.
Q: What’s the best way to reheat these buns? For best results, wrap in foil and warm in a 300°F oven for 5-7 minutes. This method maintains the soft texture without drying them out.
Q: Can I reduce the sugar content? You can reduce the sugar in the dough by up to 2 tablespoons without significantly affecting the texture, though the flavor will be less sweet. The cinnamon sugar coating is more flexible and can be adjusted to taste.
Q: Why are my buns not as fluffy as expected? This is usually due to under-kneading, which doesn’t develop enough gluten structure, or using old yeast. Make sure to knead for the full time and always test your yeast’s activity before beginning.
These Brown Butter Cinnamon Sugar Pumpkin Brioche Buns represent everything I love about autumn baking—they’re comforting, aromatic, and absolutely irresistible. The combination of techniques and flavors creates something truly special that brings people together around the table. Whether you’re an experienced baker or just starting your brioche journey, this recipe will reward your patience with buns that taste like autumn in every bite.