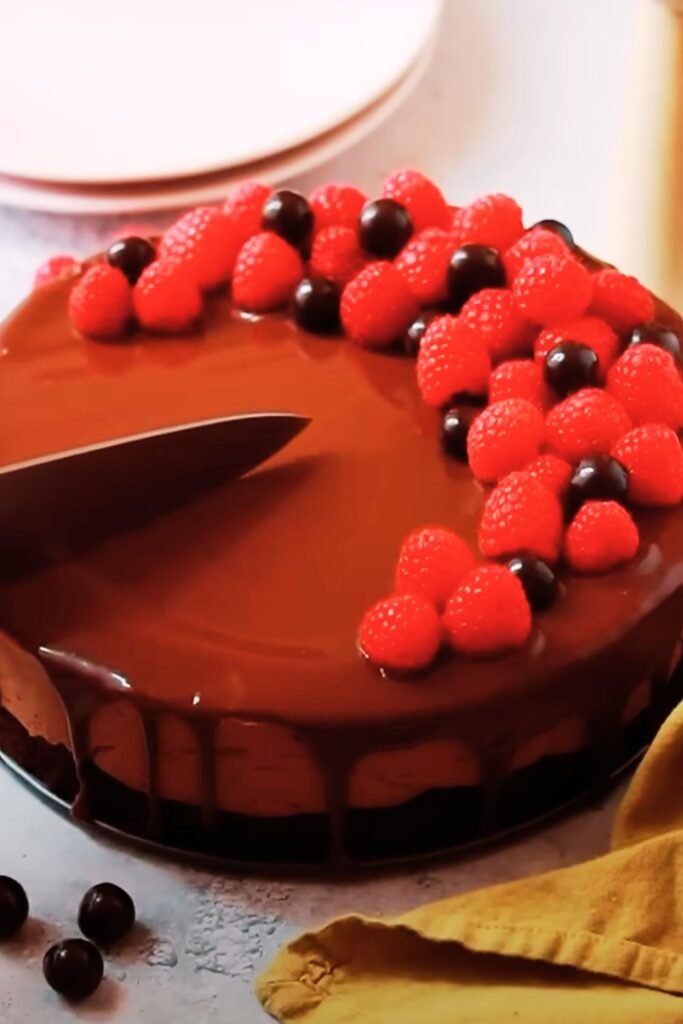
I’ve been absolutely captivated by Nigella Lawson’s approach to chocolate desserts for years, and her chocolate mousse cake stands as one of my all-time favorites from the British culinary scene. This isn’t just any ordinary dessert – it’s a sophisticated blend of rich chocolate flavors wrapped in elegant simplicity that embodies everything I love about British baking traditions.
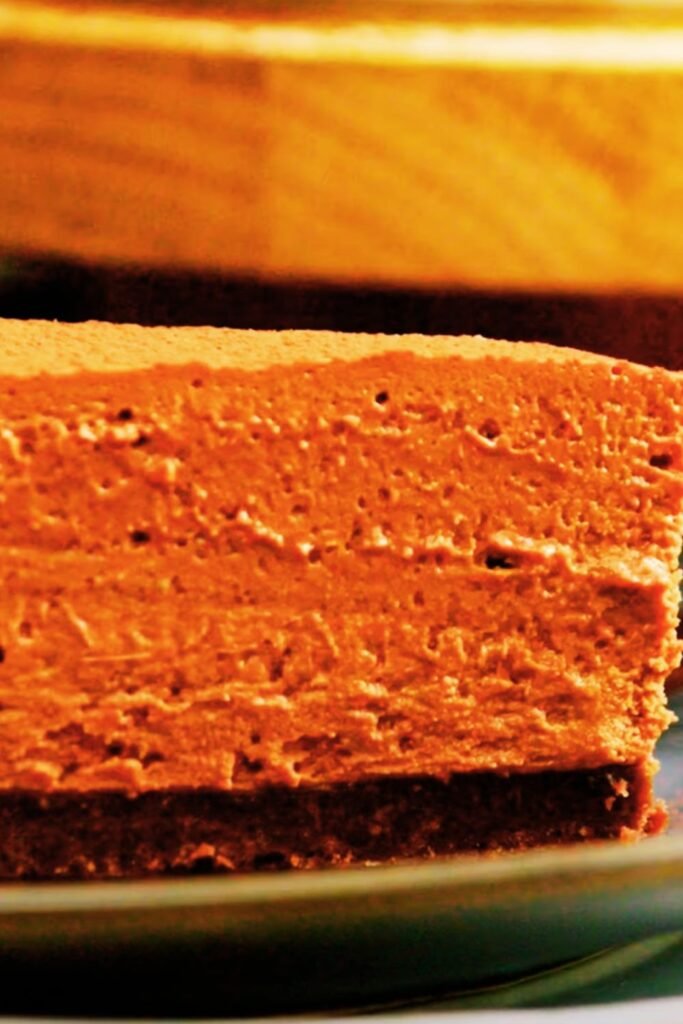
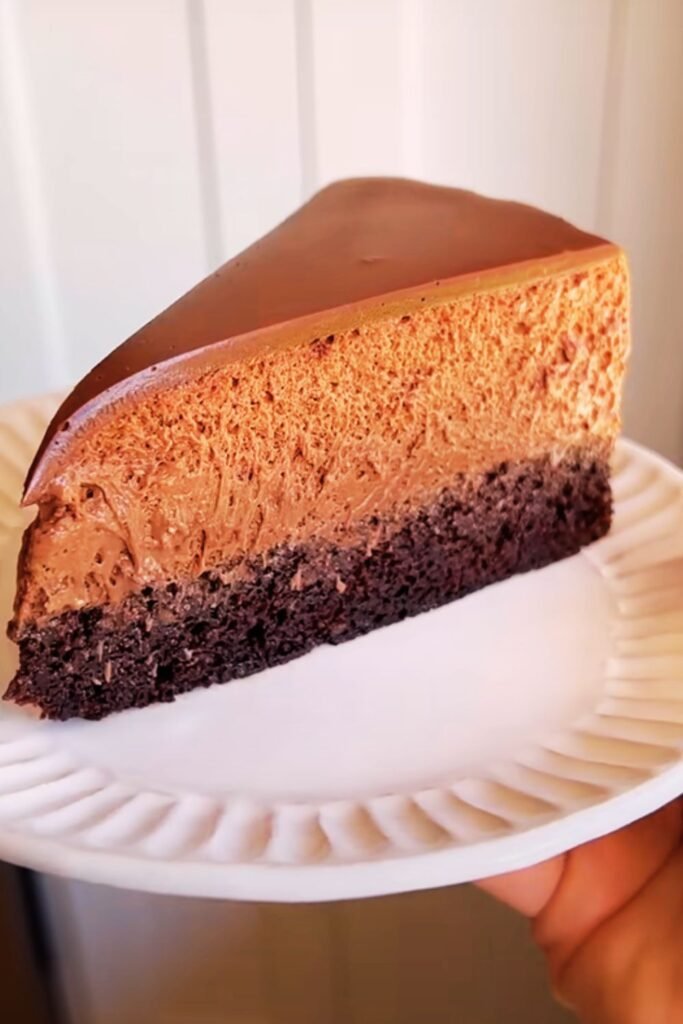
When I first encountered this recipe, I was struck by how Nigella manages to create something so luxuriously decadent yet surprisingly approachable. The beauty of this chocolate mousse cake lies in its perfect balance between the dense, fudgy base and the light, airy mousse topping. It’s the kind of dessert that makes you close your eyes and savor every single bite.
Understanding the Nigella Chocolate Mousse Cake
Chocolate Mousse Cake : A layered dessert featuring a dense chocolate cake base topped with silky chocolate mousse, characterized by contrasting textures and intense chocolate flavor
British Baking Tradition : A culinary approach emphasizing comfort, quality ingredients, and accessible techniques that create impressive results without unnecessary complexity
Nigella’s Philosophy : Cooking and baking should be pleasurable, not stressful, focusing on recipes that work reliably while delivering exceptional taste
The foundation of this magnificent dessert rests on understanding what makes it distinctly British. Unlike French patisserie with its technical precision or American desserts with their bold sweetness, British chocolate desserts like Nigella’s creation focus on depth of flavor and comforting satisfaction. I find this approach refreshing because it prioritizes the eating experience over visual perfection.
My journey with this recipe began during a particularly challenging week when I needed something both impressive and achievable. The cake delivered on both fronts, teaching me valuable lessons about chocolate work and the importance of temperature control in mousse preparation.
The Science Behind Perfect Chocolate Mousse
Understanding the science behind this dessert transformed my baking completely. The mousse layer relies on the careful incorporation of air into a chocolate base, creating that signature light texture we all crave. Temperature plays a crucial role here – too hot, and your eggs will scramble; too cool, and the chocolate won’t integrate properly.
Emulsification : The process by which fat and water-based ingredients combine to create a smooth, stable mixture
Tempering : Controlling chocolate temperature to ensure proper crystal formation and smooth texture
Folding Technique : Gently combining ingredients to maintain air incorporation while ensuring thorough mixing
The cake base requires a different approach entirely. I’ve learned that achieving the perfect dense yet tender crumb comes from understanding how cocoa powder and melted chocolate work together. The cocoa provides structure and deep flavor, while the melted chocolate adds richness and moisture.
Essential Ingredients Breakdown
| Ingredient Category | Specific Item | Quality Notes | Purpose in Recipe |
|---|---|---|---|
| Chocolate Components | Dark chocolate (70% cocoa) | Choose high-quality brands like Valrhona or Callebaut | Primary flavor base for both layers |
| Cocoa powder | Dutch-processed preferred | Intensifies chocolate flavor and provides structure | |
| Dairy Elements | Heavy cream | 35% fat content minimum | Creates smooth mousse texture |
| Butter | Unsalted European-style | Adds richness and improves texture | |
| Eggs | Fresh, room temperature | Provides structure and aids emulsification | |
| Sweeteners | Caster sugar | Fine granulation dissolves easily | Balances chocolate bitterness |
| Dark brown sugar | Adds molasses depth | Complements chocolate flavors | |
| Structural Components | Plain flour | Low-protein for tender crumb | Provides cake structure |
| Baking powder | Fresh, active | Ensures proper rise |
The quality of your chocolate makes an enormous difference in the final result. I always recommend investing in the best chocolate you can afford – it truly is the star of this show. When I’m shopping, I look for chocolate with at least 70% cocoa content for the perfect balance of sweetness and intensity.
Step-by-Step Preparation Method
My approach to this recipe has evolved through countless iterations, and I’ve developed a systematic method that ensures success every time. The key lies in proper timing and temperature management throughout the process.
Preparing the Cake Base
I begin by preheating my oven to 180°C (160°C fan) and preparing my springform pan with butter and cocoa powder. This prevents sticking while maintaining the chocolate theme throughout.
The chocolate melting process requires patience. I use a double boiler method, ensuring the water never touches the bottom of the bowl. I melt the chocolate with butter, stirring occasionally until smooth and glossy. This mixture forms the foundation of our cake’s rich flavor profile.
In a separate bowl, I whisk together the dry ingredients – flour, cocoa powder, and baking powder. Sifting these together eliminates lumps and ensures even distribution throughout the batter.
Creaming Method : Beating butter and sugar together to incorporate air and create light texture
Ribbon Stage : When beaten eggs and sugar reach pale, thick consistency that falls in ribbons
Folding Motion : Using a spatula to cut down through mixture, across bottom, and up the side
The egg and sugar mixture requires careful attention. I beat them until they reach the ribbon stage – pale, thick, and falling in ribbons when lifted. This process typically takes 5-7 minutes with an electric mixer.
Creating the Perfect Mousse Layer
The mousse preparation begins while the cake cools completely. I melt chocolate separately, allowing it to cool slightly before proceeding. Temperature control here is absolutely critical for achieving the right consistency.
I whip the cream to soft peaks – not stiff peaks, as over-whipped cream will make the mousse grainy. The cream should hold its shape gently when the whisk is lifted but still look smooth and glossy.
The egg incorporation technique took me several attempts to master. I gently warm the eggs by whisking them over simmering water until they reach 60°C, creating a safe sabayon base. This step eliminates food safety concerns while creating the perfect texture foundation.
Advanced Techniques for Professional Results
Through years of perfecting this recipe, I’ve discovered several professional techniques that elevate the final result significantly. These methods might seem minor, but they create noticeable improvements in texture and flavor.
Blooming Cocoa : Mixing cocoa powder with hot liquid to activate flavor compounds and eliminate raw taste
Chocolate Seeding : Adding small pieces of tempered chocolate to melted chocolate to encourage proper crystal formation
Gelatin Stabilization : Optional technique for mousse that needs to hold shape longer
Temperature staging has become my secret weapon. I maintain different temperatures for different components – slightly warm chocolate for easy mixing, room temperature eggs for proper incorporation, and cool cream for stable peaks.
The assembly timing requires coordination. I’ve learned to have all components ready simultaneously, as the mousse begins setting immediately once combined. Working quickly but carefully ensures smooth, professional-looking layers.
Troubleshooting Common Issues
My experience has taught me to anticipate and solve common problems before they become disasters. The most frequent issue I encounter involves temperature-related problems during mousse preparation.
Seized Chocolate : When chocolate becomes grainy and thick due to moisture contact or overheating
Deflated Mousse : Loss of air incorporation due to over-mixing or temperature shock
Cracked Cake Base : Usually caused by overmixing or incorrect oven temperature
When chocolate seizes, I’ve found that adding warm cream gradually while whisking vigorously often saves the mixture. Prevention remains better than cure, so I always ensure my equipment is completely dry before beginning.
Deflated mousse typically results from folding too vigorously or combining components at dramatically different temperatures. I now bring all components to similar temperatures before combining, which has eliminated this problem entirely.
Flavor Variations and Adaptations
Over the years, I’ve experimented with numerous variations that maintain the recipe’s integrity while adding personal touches. These adaptations showcase the versatility of Nigella’s base recipe.
| Variation Type | Modification | Flavor Profile | Technical Notes |
|---|---|---|---|
| Liqueur Enhanced | Add 2 tbsp Grand Marnier to mousse | Orange-chocolate elegance | Reduce liquid elsewhere slightly |
| Espresso Infused | Include 2 tsp instant espresso | Mocha sophistication | Dissolve in warm chocolate |
| Salted Caramel | Swirl caramel through mousse | Sweet-salty contrast | Use room temperature caramel |
| Raspberry Accent | Fresh berries between layers | Fruity brightness | Pat berries dry before use |
| Mint Chocolate | Add peppermint extract to mousse | Refreshing twist | Use sparingly – 1/2 tsp maximum |
The espresso variation has become particularly popular with my dinner guests. The coffee doesn’t overpower the chocolate but rather enhances its depth, creating a sophisticated adult dessert perfect for special occasions.
Presentation and Serving Suggestions
Presentation transforms this dessert from homemade treat to restaurant-quality masterpiece. I’ve developed several techniques that consistently impress without requiring professional pastry skills.
Dust Technique : Using cocoa powder or powdered sugar through stencils for decorative patterns
Chocolate Curls : Created by scraping tempered chocolate with a vegetable peeler
Berry Garnish : Fresh berries arranged for color contrast and flavor complement
The unmolding process requires patience and technique. I run a thin knife around the edges before releasing the springform, ensuring clean, professional-looking sides. Room temperature makes this process significantly easier.
For special occasions, I create chocolate decorations by melting additional chocolate and piping designs onto parchment paper. Once set, these can be carefully transferred to the cake surface for stunning visual impact.
Temperature serving is crucial for optimal enjoyment. I remove the cake from refrigeration 20-30 minutes before serving, allowing the mousse to soften slightly while maintaining its structure. This temperature brings out the full chocolate flavor complexity.
Storage and Make-Ahead Tips
Planning ahead has become essential in my baking routine, and this cake accommodates advance preparation beautifully. Understanding proper storage maintains quality while reducing last-minute stress.
Refrigeration Guidelines : Cake remains fresh for up to 4 days when properly covered
Freezing Capability : Both base and complete cake freeze well for up to 2 months
Serving Temperature : Optimal enjoyment at slightly below room temperature
I often prepare the cake base a day ahead, wrapping it tightly and refrigerating overnight. This actually improves the texture, allowing flavors to meld and the crumb to settle perfectly.
The complete cake can be made 2-3 days in advance, with the mousse actually improving in texture after the first day. I cover it carefully with plastic wrap, ensuring the wrap doesn’t touch the mousse surface.
For longer storage, I freeze individual portions wrapped in plastic and foil. This allows me to enjoy single servings weeks later, with quality remarkably preserved. Thawing overnight in the refrigerator restores the original texture completely.
Nutritional Considerations and Dietary Adaptations
Understanding the nutritional profile helps with portion planning and dietary accommodations. While this is undoubtedly an indulgent dessert, awareness allows for mindful enjoyment.
| Nutritional Aspect | Per Serving (1/12 cake) | Notes |
|---|---|---|
| Calories | 385-420 | Varies with chocolate quality |
| Fat Content | 28-32g | Primarily from chocolate and cream |
| Carbohydrates | 32-38g | Natural and added sugars |
| Protein | 6-8g | From eggs and dairy |
| Fiber | 3-4g | From cocoa and dark chocolate |
For those with dietary restrictions, I’ve successfully adapted this recipe several times. Dairy-free versions using coconut cream work surprisingly well, though the flavor profile shifts slightly toward tropical notes.
Gluten-free adaptations require almond flour substitution for regular flour, creating a denser but equally delicious result. The chocolate flavor remains prominent, masking any textural differences effectively.
Seasonal Serving Ideas
My approach to serving this dessert changes with the seasons, incorporating complementary flavors and presentations that enhance the overall experience.
Spring Presentation : Fresh strawberries and mint leaves for brightness
Summer Serving : Chilled thoroughly with vanilla ice cream
Autumn Accent : Candied orange peel or toasted hazelnuts
Winter Warmth : Served at room temperature with hot coffee or tea
During warmer months, I serve smaller portions with fresh berries and a drizzle of berry coulis. The acidity cuts through the richness beautifully while adding vibrant color contrast.
Winter celebrations call for heartier presentations. I might add a dollop of lightly sweetened whipped cream infused with vanilla or even a small glass of cold milk alongside each serving.
Professional Tips from My Kitchen
Years of making this recipe have taught me subtle techniques that dramatically improve results. These insights come from both successes and failures, each teaching valuable lessons.
The chocolate quality investment pays dividends in flavor complexity. I taste-test different brands regularly, currently favoring Belgian chocolates for their smooth melting properties and rich flavor profiles.
Room temperature ingredients integrate more easily and create smoother textures. I remove eggs and dairy from refrigeration 2-3 hours before beginning, planning my baking schedule accordingly.
Mise en place becomes essential with this recipe. Having all ingredients measured and equipment ready prevents rushing during temperature-sensitive steps like mousse preparation.
Q&A Section
Q: Can I make this cake without eggs in the mousse layer? My experience with egg-free versions has been mixed. While aquafaba (chickpea liquid) can work as a substitute, the texture becomes less silky. I recommend trying commercial egg replacer designed for mousses if dietary restrictions require this modification.
Q: Why does my chocolate sometimes seize when melting? Chocolate seizing usually happens when water contacts the melting chocolate or when temperatures get too high. I always ensure my equipment is completely dry and use gentle, indirect heat. If seizing occurs, gradually whisking in warm cream often salvages the mixture.
Q: How can I tell when my mousse has the right consistency? The perfect mousse holds soft peaks when lifted with a spoon but still flows gently. It should look glossy and smooth without any graininess. If it becomes too thick, gently fold in a tablespoon of warm cream.
Q: Can I use milk chocolate instead of dark chocolate? While possible, milk chocolate creates a much sweeter, less intense flavor profile. I recommend using at least 50% cocoa content milk chocolate and reducing the added sugar by half to maintain balance.
Q: What’s the best way to slice this cake cleanly? I warm a large, sharp knife under hot water, dry it completely, then make smooth, confident cuts. Cleaning and warming the knife between cuts ensures professional-looking slices without dragging.
Q: Can I add alcohol to this recipe? Absolutely! Liqueurs like Grand Marnier, Kahlua, or even rum work beautifully. I add 2-3 tablespoons to the chocolate mixture while it’s still warm, allowing the alcohol to cook off slightly while retaining flavor.
Q: Why is my cake base dense and heavy? Dense cake usually results from overmixing after adding flour or using cold ingredients. I mix just until ingredients combine and ensure everything reaches room temperature before beginning.
Q: How do I prevent the mousse from separating? Temperature control prevents separation. All components should be at similar temperatures when combined, and I fold ingredients together gently but thoroughly. Over-whipped cream also causes separation issues.
Q: Can I make individual portions instead of one large cake? Individual portions work wonderfully! I use 4-inch springform pans or glasses, adjusting baking time to 15-20 minutes for the cake bases. The mousse portion remains the same per serving.
Q: What should I do if my cake base cracks during baking? Minor cracks don’t affect the final result since the mousse covers the surface. Prevent cracking by avoiding overmixing and maintaining proper oven temperature. A water bath can also help create more even baking conditions.
This remarkable dessert continues to be one of my most requested recipes, combining British baking sensibilities with universal chocolate appeal. Each time I make it, I discover subtle improvements or variations that keep the experience fresh and exciting. The beauty lies not just in its sophisticated flavor but in how achievable it remains for home bakers willing to pay attention to technique and timing.