There’s something magical about biting into a perfectly baked mooncake—that moment when the tender pastry gives way to reveal a luscious filling inside. As autumn approaches and the Mid-Autumn Festival draws near, I find myself drawn to my kitchen with an irresistible urge to create these traditional delicacies. While store-bought mooncakes are convenient, nothing compares to the satisfaction of crafting these symbolic treats with your own hands.
I’ve spent years perfecting my mooncake recipe, through countless batches of dough and experimental fillings. Today, I’m sharing my foolproof method for creating beautiful, delicious traditional baked mooncakes that will impress your family and friends. Whether you’re a seasoned baker or attempting these for the first time, my detailed instructions will guide you through every step of the process.
The Cultural Significance of Mooncakes
Before we dive into the recipe, let’s appreciate the rich history behind these special pastries. Mooncakes, or “Yue Bing” (月饼) in Mandarin, are inseparable from the Mid-Autumn Festival (中秋节), one of the most important celebrations in Chinese culture. This festival falls on the 15th day of the eighth lunar month, when the moon is at its fullest and brightest—symbolizing reunion and harmony.
Families gather under the autumn moon, sharing mooncakes as they connect with loved ones. The round shape of these pastries represents completeness and unity in Chinese culture. Traditionally, mooncakes were also used as a medium to spread revolutionary messages during the Yuan Dynasty (1271-1368), when Han Chinese rebels hid messages inside mooncakes to coordinate their uprising against Mongol rulers.
Today, while the political significance has faded, the cultural importance remains strong. Gifting boxes of mooncakes to family, friends, and business associates is a common practice during the festival season—a gesture of respect and good wishes.
Understanding Mooncake Varieties
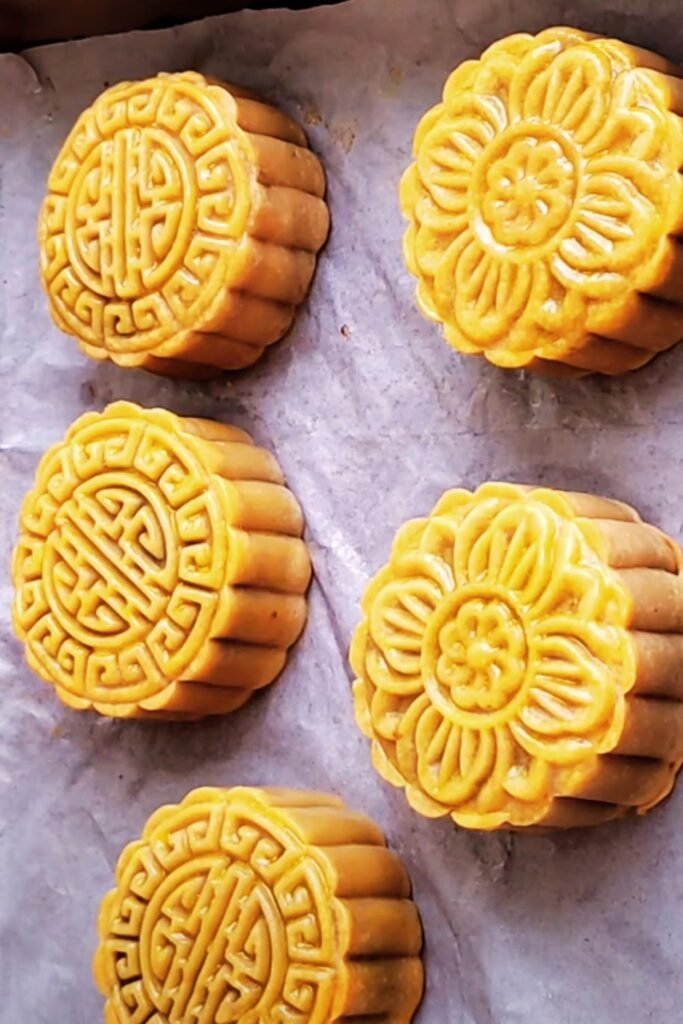
Mooncakes come in numerous regional varieties across Asia. The recipe I’m sharing today focuses on traditional Cantonese-style baked mooncakes, which are perhaps the most recognized globally. These feature a thin, tender pastry skin enveloping various sweet fillings.
Other popular types include:
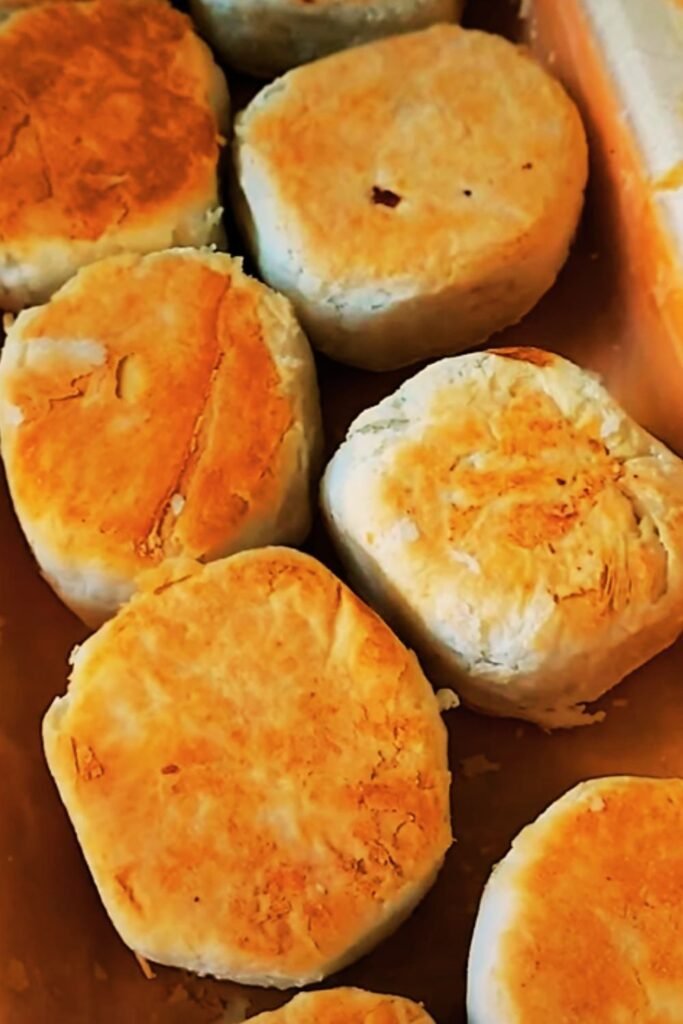
- Suzhou-style mooncakes: Flaky, layered pastry with either sweet or savory fillings
- Teochew-style mooncakes: Flaky pastry with a yam paste filling
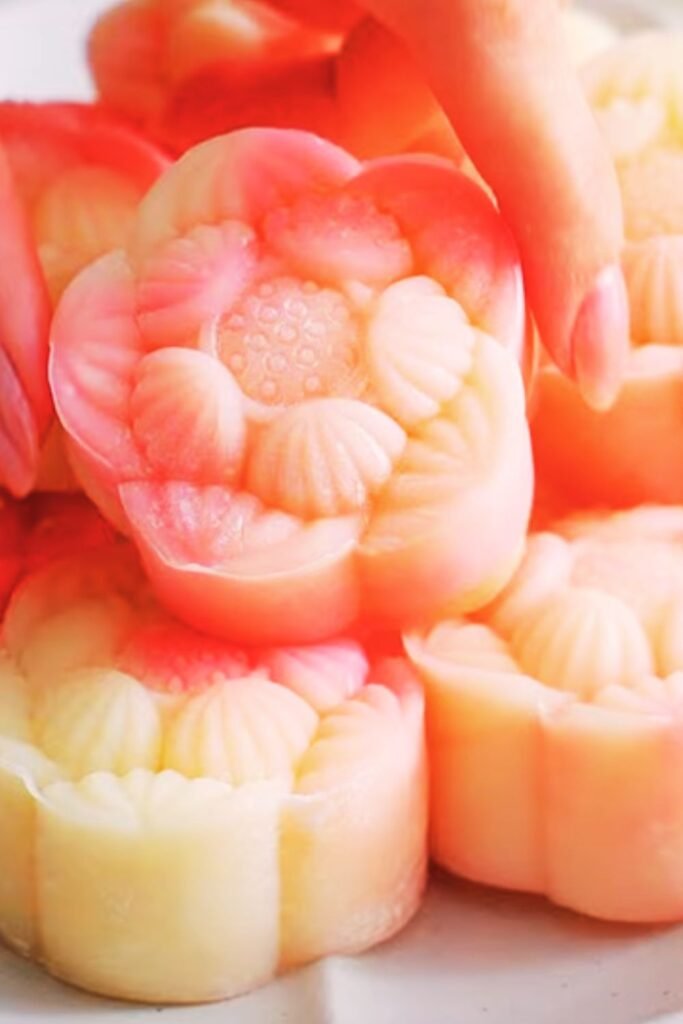
- Taiwanese-style mooncakes: Tender mochi-like skin with various fillings
- Snow skin mooncakes: No-bake, glutinous rice skin with modern fillings like ice cream or chocolate
While each style has its charm, the traditional baked version holds a special place in my heart, and that’s what we’ll be creating today.
Essential Equipment
Before starting your mooncake-making journey, gather these tools:
- Mooncake molds (50g or 100g size, traditional or modern designs)
- Kitchen scale (precision is crucial for mooncakes)
- Stand mixer or hand mixer
- Sieve for flour
- Pastry brush for egg wash
- Baking sheets
- Parchment paper
- Cooling rack
- Food processor (helpful for some fillings)
Grab the Saving up to 50% from Target Deal Days (Mar 25 to 27, 2026)
Ingredients Breakdown
For the Mooncake Skin (makes about 12-15 mooncakes at 50g each):
| Ingredient | Amount | Notes |
|---|---|---|
| Golden syrup | 60g | Store-bought or homemade |
| Alkaline water (kansui) | 1/2 tsp | Find in Asian markets or make substitute |
| Vegetable oil | 30g | Neutral flavor like canola or sunflower |
| All-purpose flour | 100g | Sifted |
| Cake flour | 100g | Creates tenderness |
| Custard powder (optional) | 10g | For extra flavor and color |
For the Egg Wash:
| Ingredient | Amount | Notes |
|---|---|---|
| Egg yolk | 1 | Room temperature |
| Water | 1 tbsp | For thinning |
| Neutral oil | 1/2 tsp | Creates shine |
Common Fillings (Choose One):
Traditional Lotus Seed Paste (makes enough for 12-15 mooncakes):
| Ingredient | Amount | Notes |
|---|---|---|
| Dried lotus seeds | 250g | Soaked overnight |
| Granulated sugar | 150-200g | Adjust to taste |
| Vegetable oil or lard | 80g | For richness |
| Water | As needed | For consistency |
| Salted egg yolks (optional) | 6-12 | Whole or halved |
Red Bean Paste (makes enough for 12-15 mooncakes):
| Ingredient | Amount | Notes |
|---|---|---|
| Dried red beans | 250g | Soaked overnight |
| Granulated sugar | 150-200g | Adjust to taste |
| Vegetable oil or lard | 60g | For richness |
| Water | As needed | For cooking beans |
Black Sesame Paste (makes enough for 12-15 mooncakes):
| Ingredient | Amount | Notes |
|---|---|---|
| Black sesame seeds | 200g | Toasted |
| Granulated sugar | 100-150g | Adjust to taste |
| Vegetable oil or lard | 80g | For richness |
| Maltose or honey | 2 tbsp | For binding |
Mixed Nut Filling (makes enough for 12-15 mooncakes):
| Ingredient | Amount | Notes |
|---|---|---|
| Walnuts | 50g | Lightly toasted |
| Almonds | 50g | Lightly toasted |
| Pumpkin seeds | 30g | Lightly toasted |
| Sesame seeds | 30g | Lightly toasted |
| Candied winter melon | 60g | Finely diced |
| Glutinous rice flour | 30g | For binding |
| Maltose or honey | 50g | For sweetness and binding |
| Vegetable oil | 40g | For richness |
| Five-spice powder | 1/4 tsp | For traditional flavor |
Grab the Saving up to 50% from Target Deal Days (Mar 25 to 27, 2026)
Preparation Steps
Making the Mooncake Skin Dough
- In a medium bowl, mix the golden syrup, alkaline water, and oil until well combined.
- Sift together the all-purpose flour, cake flour, and custard powder (if using) into a separate bowl.
- Gradually add the dry ingredients to the wet mixture, stirring with a spatula until a dough forms.
- Gently knead the dough until smooth, about 2-3 minutes. The dough should be slightly tacky but not sticky.
- Wrap the dough in plastic wrap and let it rest for at least 1 hour at room temperature. This resting period is crucial for the texture development.
Preparing the Fillings
Different fillings require different preparation methods. Here’s how to make the most popular options:
Lotus Seed Paste
- Rinse the soaked lotus seeds and remove any green embryos (these cause bitterness).
- In a large pot, boil the lotus seeds until soft and easily mashable, usually 1-1.5 hours.
- Drain well and blend in a food processor until smooth.
- In a heavy-bottomed pan, combine the lotus seed purée with sugar.
- Cook over medium-low heat, stirring constantly to prevent burning.
- When the mixture thickens, add oil gradually while continuing to stir.
- Cook until the paste pulls away from the sides of the pan and holds its shape.
- Transfer to a bowl and let cool completely before using.
Red Bean Paste
- Rinse the soaked red beans and place in a large pot.
- Cover with water and bring to a boil, then reduce heat and simmer until beans are very soft, about 1-1.5 hours.
- Drain well and blend in a food processor until smooth.
- In a heavy-bottomed pan, combine the bean purée with sugar.
- Cook over medium-low heat, stirring constantly.
- When the mixture thickens, add oil gradually while continuing to stir.
- Cook until the paste pulls away from the sides of the pan and holds its shape.
- Transfer to a bowl and let cool completely before using.
Black Sesame Paste
- Toast sesame seeds in a dry pan until fragrant, stirring constantly to prevent burning.
- Let cool slightly, then grind in a food processor until fine.
- Add sugar and continue processing until well combined.
- Add oil gradually while the processor is running.
- Add maltose or honey and process until the mixture becomes paste-like.
- Transfer to a bowl and let cool completely.
Mixed Nut Filling
- Finely chop all nuts and seeds (or pulse briefly in a food processor).
- In a pan, heat oil and add the chopped nuts and seeds, stirring to coat.
- Add maltose or honey and stir until everything is well coated.
- Add the candied winter melon and five-spice powder, mixing well.
- Sprinkle in glutinous rice flour and stir until the mixture binds together.
- Transfer to a bowl and let cool completely.
Grab the Saving up to 50% from Target Deal Days (Mar 25 to 27, 2026)
Assembling and Baking the Mooncakes
Portioning the Ingredients
For standard 50g mooncakes:
- 20g of dough
- 30g of filling
For larger 100g mooncakes:
- 40g of dough
- 60g of filling
If including salted egg yolks:
- For 50g mooncakes: Use a quarter or half yolk
- For 100g mooncakes: Use a whole salted egg yolk
Assembly Process
- Divide your dough and filling according to the weights above.
- Roll each portion of dough into a ball, then flatten into a disc about 3-4 inches in diameter.
- Place the filling in the center of the dough disc.
- If using salted egg yolks, press the yolk into the center of the filling.
- Carefully wrap the dough around the filling, pinching to seal.
- Roll gently between your palms to form a smooth ball.
- Dust the mooncake mold lightly with flour.
- Place the filled ball into the mold and press firmly.
- Tap the mold on your work surface to release the shaped mooncake.
Baking Instructions
- Preheat your oven to 350°F (180°C).
- Place the shaped mooncakes on a baking sheet lined with parchment paper, spacing them about 1 inch apart.
- Bake for 8-10 minutes until the edges begin to set but the mooncakes are not yet golden.
- Remove from the oven and let cool for 10 minutes.
- Increase the oven temperature to 375°F (190°C).
- Meanwhile, prepare the egg wash by beating the egg yolk with water and oil until smooth.
- Gently brush a thin layer of egg wash over the tops and sides of each mooncake.
- Return to the oven and bake for another 10-15 minutes until golden brown.
- Remove from oven and let cool completely on a wire rack.
Grab the Saving up to 50% from Target Deal Days (Mar 25 to 27, 2026)
The Aging Process
Here’s something many recipes don’t tell you: mooncakes actually taste better after aging for a few days! This crucial step allows the oil from the filling to gradually penetrate the skin, resulting in that characteristic soft, tender texture we associate with premium mooncakes.
For best results:
- Let mooncakes cool completely after baking.
- Store in an airtight container at room temperature.
- Wait 1-3 days before enjoying.
- If storing longer than 3 days, move to the refrigerator.
You’ll notice the skin darkens slightly and becomes softer and more tender with each passing day.
Troubleshooting Common Issues
| Problem | Possible Cause | Solution |
|---|---|---|
| Cracked skin during baking | Dough too dry or oven too hot | Add a tiny bit more oil to dough or lower oven temperature |
| Pattern not clear | Insufficient pressure when molding | Press more firmly when shaping |
| Mooncakes collapsed after baking | Too much leavening agent or filling too wet | Reduce alkaline water or cook filling longer to remove moisture |
| Skin too hard | Overbaking or insufficient oil in dough | Reduce baking time or add a bit more oil to dough |
| Filling leaking out | Dough too thin or holes in wrapping | Ensure even thickness when wrapping and seal thoroughly |
| Bottom burns before top browns | Oven heat uneven | Use middle rack and place a baking sheet on lower rack as buffer |
Serving Suggestions
Mooncakes are traditionally enjoyed with Chinese tea, which helps balance the sweetness of the pastry. Here are some excellent tea pairings:
- Oolong tea: Its partially oxidized character complements the richness of mooncakes
- Pu-erh tea: The earthy, fermented flavor cuts through the sweetness
- Chrysanthemum tea: A refreshing, floral counterpoint to rich fillings
- Jasmine tea: Fragrant and light, pairs well with lotus seed paste
For a modern twist, serve with:
- Fresh fruit platter for brightness and acidity
- Unsweetened warm soy milk
- Cold milk for children
- Hot black coffee (the bitterness contrasts beautifully with the sweet pastry)
Modern Variations to Try
While traditional fillings have stood the test of time, don’t be afraid to experiment with these contemporary options:
- Matcha red bean paste
- Chocolate and hazelnut
- Purple sweet potato
- Pineapple jam
- Custard
- Coffee and walnut
- Pandan and coconut
- Taro paste
You can also play with the mooncake skin by adding natural colorings like pumpkin powder, beetroot powder, or matcha powder for vibrant, Instagram-worthy creations.
Storage and Shelf Life
Properly stored mooncakes can last quite well:
- Room temperature: 3-4 days in an airtight container
- Refrigerated: Up to 2 weeks
- Frozen: Up to 3 months (thaw overnight in refrigerator before serving)
Note that refrigeration may cause the skin to harden slightly. Bring to room temperature for 30 minutes before serving for the best texture.
Grab the Saving up to 50% from Target Deal Days (Mar 25 to 27, 2026)
Frequently Asked Questions
Q: Can I make mooncakes without special molds?
A: Yes, though they won’t have the traditional patterns. You can shape the dough by hand and score decorative patterns with a knife, or use alternative molds like tart molds or cookie cutters for a unique presentation.
Q: What is alkaline water (kansui) and can I substitute it?
A: Kansui is a food-grade lye water that gives mooncakes their characteristic aroma and slight yellowing. In a pinch, dissolve 1/4 teaspoon of baking soda in 1/4 cup water as a substitute. However, authentic kansui is recommended for the best results.
Q: My mooncakes puffed up during baking and lost their pattern. What happened?
A: This usually happens when there’s too much leavening action. Make sure your alkaline water proportion is correct, and consider chilling the shaped mooncakes briefly before baking.
Q: Can I reduce the sugar in the fillings?
A: Yes, but with caution. Sugar contributes to the texture and preservation of the fillings. I wouldn’t recommend reducing by more than 25% as it may affect consistency and shelf life.
Q: Why do my mooncakes crack on top during baking?
A: Cracking usually occurs when the oven is too hot or the dough is too dry. Try lowering your oven temperature slightly or adding a tiny bit more oil to your dough.
Q: How do I achieve that shiny surface on my mooncakes?
A: The shine comes from a properly applied egg wash and the aging process. Make sure your egg wash is thin and evenly applied, and allow the mooncakes to age for 1-2 days after baking.
Q: Can I make these mooncakes vegan?
A: Absolutely! Replace the egg wash with a mixture of maple syrup and oil for shine. Use vegetable oil instead of lard in fillings, and ensure your golden syrup is plant-based.
Q: How can I tell when my mooncakes are perfectly baked?
A: Look for even golden-brown coloring on the surface. The edges should be slightly darker than the center. When in doubt, it’s better to slightly underbake than overbake, as they will continue to set as they cool.
Final Tips for Success
- Precision matters—use a digital scale for measuring ingredients.
- Don’t rush the filling preparation; properly cooked fillings should hold their shape when scooped.
- Rest the dough as instructed; this relaxes the gluten and makes wrapping easier.
- If the dough feels too sticky, dust your hands with a minimal amount of flour.
- Work quickly when wrapping, as the dough can dry out.
- For the clearest patterns, chill the shaped mooncakes for 30 minutes before baking.
- The two-stage baking process is essential—don’t skip either bake.
- Apply egg wash very gently to avoid disturbing the patterns.
- Practice makes perfect! Your first batch may not be flawless, but the skills develop quickly.
- Most importantly, enjoy the process—mooncake making is as much about the journey as the delicious destination!
Making mooncakes at home connects us to centuries of tradition while allowing for personal creativity. There’s something profoundly satisfying about presenting homemade mooncakes to loved ones during the Mid-Autumn Festival—a literal and symbolic sharing of sweetness and harmony. I hope this guide helps you create beautiful mooncakes that become part of your own traditions!