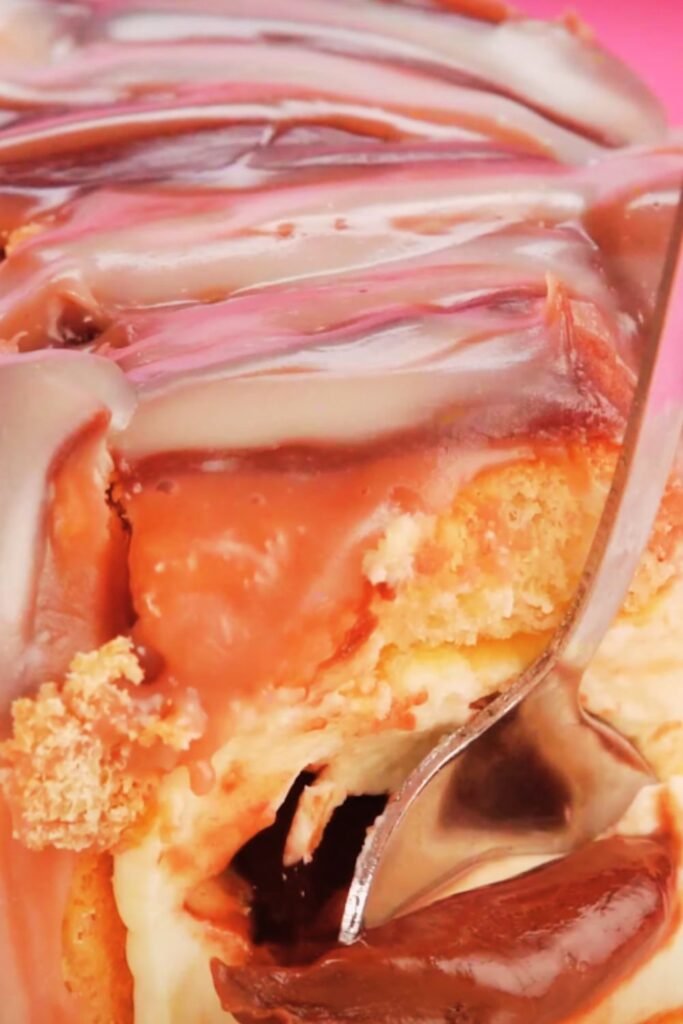
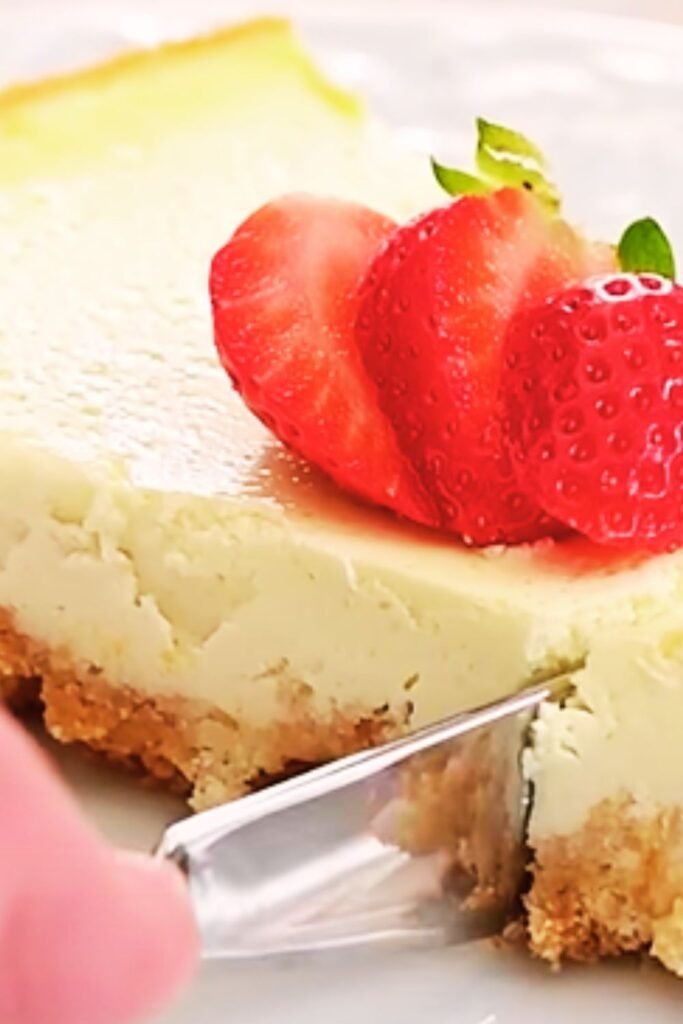
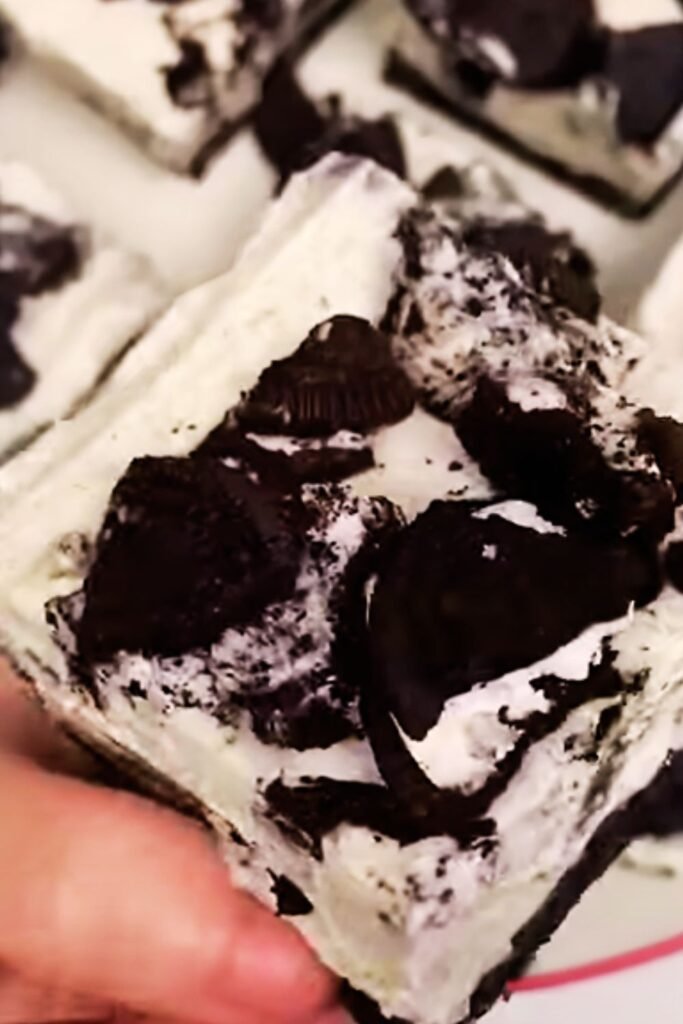
When I first tasted ladyfinger cheesecake at my Italian friend’s dinner party, I knew I had discovered something magical. The delicate, coffee-soaked cookies paired with that silky smooth cream cheese filling created a dessert that was both elegant and comforting. That evening sparked my obsession with perfecting this stunning no-bake cheesecake, and after countless attempts, I’m thrilled to share my favorite version with you.
Ladyfinger cheesecake represents the perfect marriage between traditional Italian tiramisu and classic American cheesecake. What makes this dessert so special is its unique construction – instead of a traditional graham cracker crust, we use delicate ladyfinger cookies that absorb flavors beautifully while maintaining their structure. The result is a dessert that’s both sophisticated enough for special occasions and simple enough for weekend indulgence.
Understanding the Foundation: What Makes This Cheesecake Special
Ladyfinger Cookies (Savoiardi) : Light, airy sponge cookies with a distinctive finger-like shape, originally from Italy’s Piedmont region. These cookies are specifically designed to absorb liquids while maintaining their form.
No-Bake Preparation : A method that relies on refrigeration rather than oven baking to set the cheesecake, making it perfect for hot weather or when you want to avoid heating up your kitchen.
Mascarpone Integration : Italian cream cheese that adds richness and authentic flavor, though cream cheese works beautifully as a substitute.
Stabilized Cream Layer : A technique using gelatin or cornstarch to ensure the filling maintains its shape when sliced.
The beauty of this dessert lies in its versatility. I’ve served it at elegant dinner parties where guests assumed I’d spent hours in the kitchen, and I’ve also made it for casual family gatherings where everyone raved about the “fancy” dessert. The truth is, once you understand the basic technique, this cheesecake becomes surprisingly approachable.
Essential Ingredients and Their Roles
| Ingredient | Quantity | Purpose | Substitution Options |
|---|---|---|---|
| Ladyfinger Cookies | 24-30 pieces | Structure and texture | Graham crackers, vanilla wafers |
| Cream Cheese | 16 oz (2 packages) | Base filling | Mascarpone, ricotta blend |
| Heavy Cream | 1 cup | Lightness and volume | Whipped topping (stabilized) |
| Powdered Sugar | 3/4 cup | Sweetness without grittiness | Granulated sugar (dissolved) |
| Vanilla Extract | 2 teaspoons | Flavor enhancement | Vanilla bean paste |
| Unflavored Gelatin | 1 packet | Stability | Agar powder |
| Coffee or Espresso | 1 cup (cooled) | Cookie moistening | Strong tea, fruit juice |
| Cocoa Powder | 2 tablespoons | Dusting and flavor | Powdered sugar |

When selecting ingredients, I’ve learned that quality makes a noticeable difference. I always choose cream cheese that’s been sitting at room temperature for at least an hour – this prevents lumps and creates that silky texture we’re after. For the ladyfingers, I prefer the harder, more traditional Italian savoiardi over the softer French varieties because they hold their shape better during assembly.
My Foolproof Preparation Method
Step 1: Preparing the Coffee Mixture
I start by brewing a strong cup of coffee or espresso and letting it cool completely. This step is crucial because hot liquid will start melting our cream cheese filling. Sometimes I add a tablespoon of sugar to the coffee if I want a slightly sweeter base, though this is entirely optional.
Step 2: Creating the Perfect Filling
The filling is where the magic happens, and I’ve refined this technique through many trials:
- Remove cream cheese from refrigerator 1-2 hours before starting
- In a large bowl, beat the softened cream cheese until completely smooth
- Gradually add powdered sugar, beating continuously to prevent lumps
- Add vanilla extract and mix until incorporated
- In a separate bowl, dissolve gelatin in 3 tablespoons of warm water
- Let gelatin mixture cool slightly, then fold into cream cheese mixture
Step 3: Whipping and Folding Technique
This is where many people stumble, but my method ensures success every time:
- Whip heavy cream to soft peaks (not stiff – this is important!)
- Using a rubber spatula, fold 1/3 of the whipped cream into the cream cheese mixture
- Gently fold in remaining cream in two additions
- The mixture should be light, fluffy, and completely homogeneous
Assembly: Building Your Masterpiece

The assembly process is where this dessert truly shines. I use a 9-inch springform pan, though a regular cake pan lined with plastic wrap works beautifully too.
Layer Construction Technique
Bottom Layer Foundation : Quickly dip each ladyfinger into the coffee mixture – about 2 seconds per side. They should be moist but not falling apart. Arrange them in a single layer covering the bottom of your pan.
First Cream Layer : Spread half of your cream cheese mixture evenly over the cookies. I use an offset spatula to ensure even distribution and smooth the surface.
Second Cookie Layer : Repeat the dipping process with remaining ladyfingers, creating a second layer. Press gently to ensure good contact with the cream below.
Final Cream Layer : Top with remaining cream mixture, smoothing the surface completely. This top layer is what your guests will see first, so take time to make it beautiful.
Chilling and Setting: Patience Pays Off
| Time Period | What’s Happening | Temperature | Tips |
|---|---|---|---|
| First 2 hours | Initial firming | 40°F | Don’t peek! |
| 4-6 hours | Flavors melding | 35-40°F | Ideal serving texture |
| Overnight | Full set | 35-40°F | Best for clean slicing |
| 24+ hours | Peak flavor | 35-40°F | Professional results |
I always recommend making this cheesecake at least 6 hours ahead, though overnight is even better. The extended chilling time allows the coffee to fully penetrate the ladyfingers while the cream sets to the perfect consistency. During this time, the flavors meld together beautifully, creating that restaurant-quality taste.
Finishing Touches and Presentation
The final presentation can elevate this dessert from homemade to professional-looking. Right before serving, I dust the top with a fine layer of unsweetened cocoa powder using a fine-mesh sieve. This not only adds visual appeal but also provides a subtle chocolate note that complements the coffee flavors.
For special occasions, I sometimes add:
- Fresh berries arranged in a decorative pattern
- A drizzle of melted chocolate in an artistic design
- Toasted nuts sprinkled around the edges
- A few whole ladyfinger cookies standing upright for height

Troubleshooting Common Issues
Through my years of making this dessert, I’ve encountered and solved virtually every problem that can arise:
Soggy Ladyfingers : This happens when cookies are dipped too long or the coffee is too hot. Solution: Quick dips (2 seconds maximum) and completely cooled liquid.
Lumpy Filling : Usually caused by cold cream cheese or overmixed cream. Solution: Room temperature ingredients and gentle folding techniques.
Weeping or Separation : Often results from overwhipped cream or temperature fluctuations. Solution: Soft peaks only and consistent refrigeration.
Difficulty Slicing : Can occur if the cheesecake hasn’t set long enough or if using a dull knife. Solution: Overnight chilling and a sharp knife dipped in warm water between cuts.
Flavor Variations I Love
One of the things I adore about this recipe is its adaptability. Here are some variations I’ve developed:
Chocolate Lover’s Version : Replace half the vanilla with chocolate extract and add 2 tablespoons of cocoa powder to the filling. Use chocolate-dipped ladyfingers if available.
Berry Bliss : Layer fresh or lightly macerated berries between the cream and cookie layers. Strawberries and raspberries work particularly well.
Lemon Brightness : Add 2 tablespoons of fresh lemon juice and 1 tablespoon of lemon zest to the filling. Replace coffee with lemon-infused simple syrup.
Amaretto Elegance : Add 2 tablespoons of amaretto to both the coffee mixture and the cream filling for an sophisticated adult version.
Storage and Make-Ahead Tips
This cheesecake is actually better when made ahead, making it perfect for entertaining. Here’s my storage guide:
Refrigerator Storage : Cover tightly with plastic wrap or store in an airtight container for up to 5 days. The flavors continue to develop and improve.
Freezing Instructions : Wrap individual slices in plastic wrap and freeze for up to 3 months. Thaw in refrigerator for 4-6 hours before serving.
Transport Tips : Keep chilled until the last possible moment. If traveling, pack with ice packs and avoid temperature fluctuations.
Nutritional Considerations
| Serving Size | Calories | Protein | Carbs | Fat | Fiber |
|---|---|---|---|---|---|
| 1 slice (1/12) | 285 | 6g | 22g | 19g | 1g |
| 1 slice (1/10) | 342 | 7g | 26g | 23g | 1g |
| 1 slice (1/8) | 428 | 9g | 33g | 29g | 1g |
While this isn’t exactly a health food, I’ve found ways to make it slightly lighter without sacrificing taste:
- Use reduced-fat cream cheese (though full-fat tastes better)
- Substitute part of the heavy cream with Greek yogurt
- Use sugar-free powdered sweetener
- Opt for decaf coffee to reduce caffeine content
Serving Suggestions and Pairings
The beauty of ladyfinger cheesecake lies in its versatility. I’ve served it successfully in numerous contexts:
Elegant Dinner Parties : Serve with a small cup of espresso and a few fresh berries. The portion size should be modest – this is a rich dessert.
Casual Family Gatherings : Pair with a tall glass of cold milk or a light herbal tea. Kids especially love the creamy texture.
Holiday Celebrations : Dust with seasonal spices like cinnamon or nutmeg. Add holiday-themed decorations for festive appeal.
Summer Entertaining : The no-bake nature makes this perfect for hot weather. Serve with iced coffee or cold brew for a cohesive flavor profile.
Professional Tips from My Kitchen
After making this dessert countless times, I’ve developed some insider techniques:
Temperature Control : Everything should be at proper temperature – room temperature cream cheese, cooled coffee, and cold cream for whipping.
Quality Equipment : A good electric mixer makes the process much easier and ensures better results than hand mixing.
Timing Strategy : I always make this dessert the day before I need it. The overnight rest transforms it from good to exceptional.
Presentation Secrets : Use a springform pan for the cleanest release, and always run a knife around edges before removing the ring.
Q&A Section
Q. Can I make this cheesecake without gelatin? While gelatin helps with stability, you can omit it if you don’t mind a slightly softer texture. The cheesecake will still set due to the cream cheese, but may be more difficult to slice cleanly.
Q. What if I can’t find ladyfinger cookies? Graham crackers work as a substitute, though they’ll give a different texture and flavor. Break them into finger-sized pieces and follow the same dipping process.
Q. How do I know when the cheesecake is properly set? The surface should feel firm to a gentle touch, and when you shake the pan slightly, the center shouldn’t jiggle. This typically takes 6-8 hours minimum.
Q. Can I use mascarpone instead of cream cheese? Absolutely! Mascarpone will give you a more authentic Italian flavor and slightly richer texture. Use the same quantities as cream cheese.
Q. Why is my filling grainy? This usually happens when the cream cheese isn’t properly softened or when ingredients are added too quickly. Always use room temperature cream cheese and add other ingredients gradually.
Q. Can I make individual servings? Yes! Use small glasses or ramekins and layer the same way. Individual portions are perfect for parties and portion control.
Q. How long does the coffee mixture need to cool? The coffee should be completely cool to room temperature before using. Hot coffee will melt the cream cheese filling and make assembly messy.
Q. What’s the best way to cut clean slices? Use a sharp knife dipped in warm water, wiping clean between each cut. This prevents the filling from sticking to the blade.
Q. Can I add alcohol to this recipe? Yes! A tablespoon or two of rum, amaretto, or coffee liqueur can be added to either the coffee mixture or the cream filling for adult versions.
Q. Why did my ladyfingers get too soggy? This happens when they’re dipped too long or the coffee is too hot. Aim for just 1-2 seconds per side in completely cooled coffee.
This ladyfinger cheesecake has become my signature dessert, and I hope it brings you as much joy as it has brought me. The combination of simplicity and elegance makes it perfect for both novice bakers and experienced cooks looking for something special. Remember, the key to success lies in patience – both in the preparation and in allowing proper chilling time. Each time I make this dessert, I’m reminded of why it’s remained my favorite no-bake creation for all these years.