Valentine’s Day is fast approaching, and if you’re like me, you’re probably thinking about ways to make the day special without spending hours in the kitchen. While I love a good baked treat, sometimes I want to create something impressive without turning on the oven. Whether you’re planning a romantic evening with your significant other, hosting a Galentine’s Day celebration, or simply treating yourself to something sweet, I’ve got you covered with these no-bake dessert recipes that are perfect for Valentine’s Day.
I’ve been creating no-bake desserts for years, and I’ve found they’re often just as impressive as their baked counterparts—sometimes even more so! They’re typically easier to prepare, require fewer ingredients, and many can be made ahead of time. What’s not to love? In this article, I’ll share my favorite no-bake Valentine’s Day desserts that anyone can make, regardless of their culinary expertise.
Why No-Bake Desserts Are Perfect for Valentine’s Day
Before diving into the recipes, let me explain why no-bake desserts are ideal for Valentine’s Day:
- Time-saving: Most can be prepared in 30 minutes or less of active time
- Stress-free: No worrying about precise baking temperatures or times
- Make-ahead friendly: Many can be prepared the day before
- Customizable: Easy to adapt to dietary preferences
- Impressive presentation: Despite being simple to make, they look stunning
- Kid-friendly: Great for family Valentine’s celebrations
Essential Tools for No-Bake Desserts
To make the recipes in this article, you’ll need a few basic tools:
- Food processor or blender
- Electric mixer (hand or stand)
- Mixing bowls in various sizes
- Measuring cups and spoons
- Rubber spatula
- Springform pan (for some recipes)
- Refrigerator space
- Decorative serving dishes
Now, let’s get to those sweet recipes that will make your Valentine’s Day memorable!
1. Chocolate-Covered Strawberry Cheesecake Cups

These individual cheesecake cups combine two Valentine’s Day classics: chocolate-covered strawberries and cheesecake. The best part? They take just 25 minutes to prepare.
Ingredients
For the crust:
- 1 cup graham cracker crumbs
- 3 tablespoons melted butter
- 1 tablespoon sugar
For the filling:
- 8 oz cream cheese, softened
- 1/3 cup powdered sugar
- 1/2 teaspoon vanilla extract
- 1 cup heavy cream, whipped to stiff peaks
- 1 cup diced fresh strawberries (plus more for garnish)
For the topping:
- 1/2 cup semi-sweet chocolate chips
- 2 tablespoons heavy cream
- 6 whole strawberries
- Chocolate shavings (optional)
Instructions
- Mix graham cracker crumbs, melted butter, and sugar in a bowl until well combined
- Divide the mixture among 6 serving glasses or jars, pressing down lightly to create a crust layer
- In a large bowl, beat cream cheese until smooth and creamy
- Add powdered sugar and vanilla, beating until combined
- Gently fold in the whipped cream until fully incorporated
- Fold in diced strawberries
- Spoon or pipe the cream cheese mixture into the glasses on top of the crust
- Refrigerate for at least 2 hours or overnight
- Before serving, melt chocolate chips with heavy cream in the microwave in 20-second intervals, stirring until smooth
- Dip the whole strawberries halfway into the melted chocolate and place on top of each cup
- Drizzle remaining chocolate over the tops and add chocolate shavings if desired
Serving Suggestion
Serve these individual treats with fresh mint leaves for an elegant touch. I love to pair them with a cup of hot chocolate with a dash of cinnamon for a perfectly romantic dessert experience.
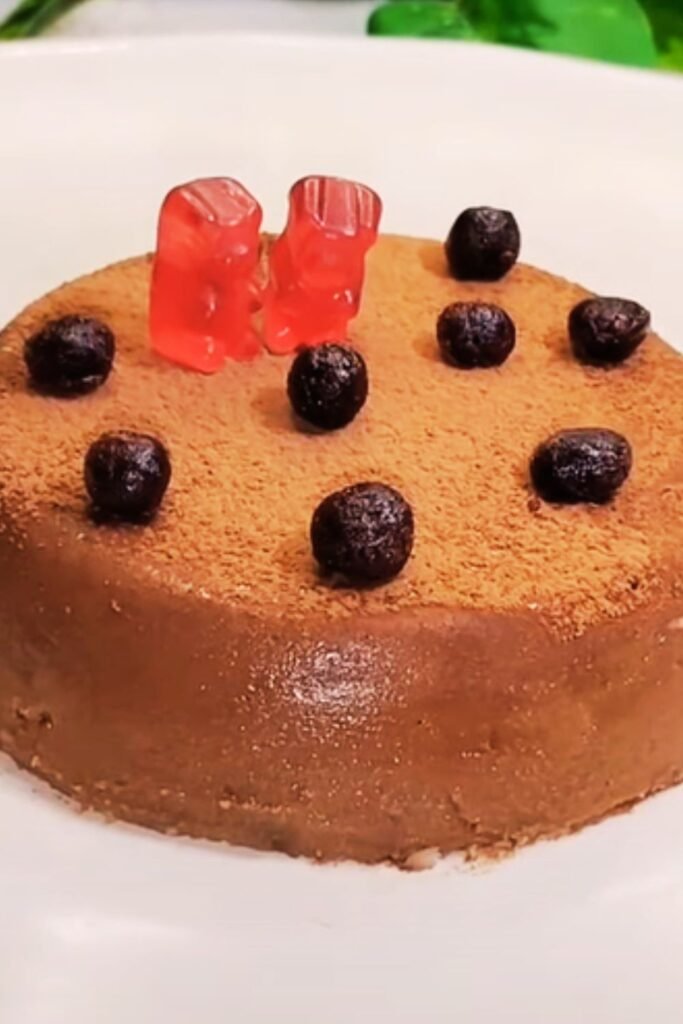
2. No-Bake Chocolate Raspberry Tart
This decadent tart offers the perfect balance of rich chocolate and tart raspberries. The vibrant red color makes it visually perfect for Valentine’s Day.
Ingredients
For the crust:
- 1 1/2 cups chocolate cookie crumbs (from about 24 chocolate sandwich cookies, filling removed)
- 6 tablespoons melted butter
For the filling:
- 10 oz semi-sweet chocolate, chopped
- 1 cup heavy cream
- 2 tablespoons unsalted butter
- 1 teaspoon vanilla extract
- Pinch of salt
For the topping:
- 2 cups fresh raspberries
- 2 tablespoons raspberry jam, warmed
- 1 tablespoon white chocolate, melted (for drizzling)
Instructions
- In a bowl, combine cookie crumbs and melted butter until the mixture resembles wet sand
- Press firmly into the bottom and up the sides of a 9-inch tart pan with removable bottom
- Refrigerate the crust for 30 minutes to firm up
- Place chopped chocolate in a heat-safe bowl
- Heat heavy cream in a saucepan just until it begins to simmer
- Pour hot cream over chocolate and let stand for 2 minutes
- Gently stir until chocolate is completely melted and mixture is smooth
- Add butter, vanilla, and salt, stirring until incorporated
- Pour chocolate mixture into the chilled crust and smooth the top
- Refrigerate for at least 4 hours or overnight
- Before serving, arrange fresh raspberries on top in concentric circles
- Brush warmed raspberry jam over the berries for shine
- Drizzle with melted white chocolate in a decorative pattern
Serving Suggestion
I recommend removing the tart from the refrigerator 15-20 minutes before serving to allow the ganache to soften slightly. Slice with a sharp knife dipped in hot water and wiped clean between cuts for professional-looking slices.
3. Easy Chocolate Mousse for Two
This silky chocolate mousse is impossibly easy to make yet tastes like it came from a fine restaurant. The recipe makes just enough for two servings—perfect for a romantic Valentine’s dinner.
Ingredients
- 4 oz semi-sweet or dark chocolate, finely chopped
- 1 cup heavy cream, divided
- 2 tablespoons sugar
- 1/2 teaspoon vanilla extract
- Pinch of salt
- Fresh raspberries, for garnish
- Chocolate shavings, for garnish
Instructions
- Place chopped chocolate in a medium bowl
- Heat 1/4 cup of heavy cream in a small saucepan until it just begins to simmer
- Pour hot cream over chocolate and let stand for 2 minutes
- Stir until chocolate is completely melted and mixture is smooth
- Let the mixture cool to room temperature, about 10 minutes
- In a chilled bowl, whip the remaining 3/4 cup of cream with sugar, vanilla, and salt until soft peaks form
- Gently fold 1/3 of the whipped cream into the chocolate mixture to lighten it
- Fold in the remaining whipped cream until no streaks remain
- Divide the mousse between two serving glasses
- Refrigerate for at least 2 hours
- Before serving, top with additional whipped cream, fresh raspberries, and chocolate shavings
Making It Special
For an extra special presentation, serve the mousse in champagne flutes or martini glasses. If you want to add an adult twist, you can stir in 1 tablespoon of liqueur such as Grand Marnier, Kahlúa, or Baileys into the chocolate mixture before folding in the whipped cream.
4. Red Velvet Truffles
These bite-sized treats capture the essence of red velvet cake without any baking required. They’re perfect for gifting or enjoying together.
Ingredients
- 1 (15.25 oz) package red velvet cake mix
- 2 tablespoons flour
- 1/2 cup (1 stick) unsalted butter, softened
- 4 oz cream cheese, softened
- 1/2 teaspoon vanilla extract
- 12 oz white chocolate, chopped
- Red food coloring (optional)
- Sprinkles or crushed freeze-dried strawberries for decoration
Instructions
- In a large bowl, combine dry cake mix and flour
- Add softened butter, cream cheese, and vanilla
- Mix until a soft dough forms (it will be thick and slightly sticky)
- Chill the dough for 30 minutes to make it easier to handle
- Roll the dough into 1-inch balls and place on a parchment-lined baking sheet
- Freeze for 15 minutes to firm up
- Melt white chocolate in a microwave-safe bowl in 30-second intervals, stirring between each, until smooth
- If desired, tint a portion of the white chocolate with red food coloring
- Using a fork, dip each truffle into the melted chocolate, tapping off excess
- Place back on the parchment-lined sheet
- Immediately add sprinkles or other decorations before the chocolate sets
- Drizzle with contrasting colored chocolate if desired
- Refrigerate until completely set, about 1 hour
Storage Tips
These truffles can be stored in an airtight container in the refrigerator for up to 1 week. Let them sit at room temperature for about 10 minutes before serving for the best flavor and texture.
5. Strawberry Tiramisu Parfaits
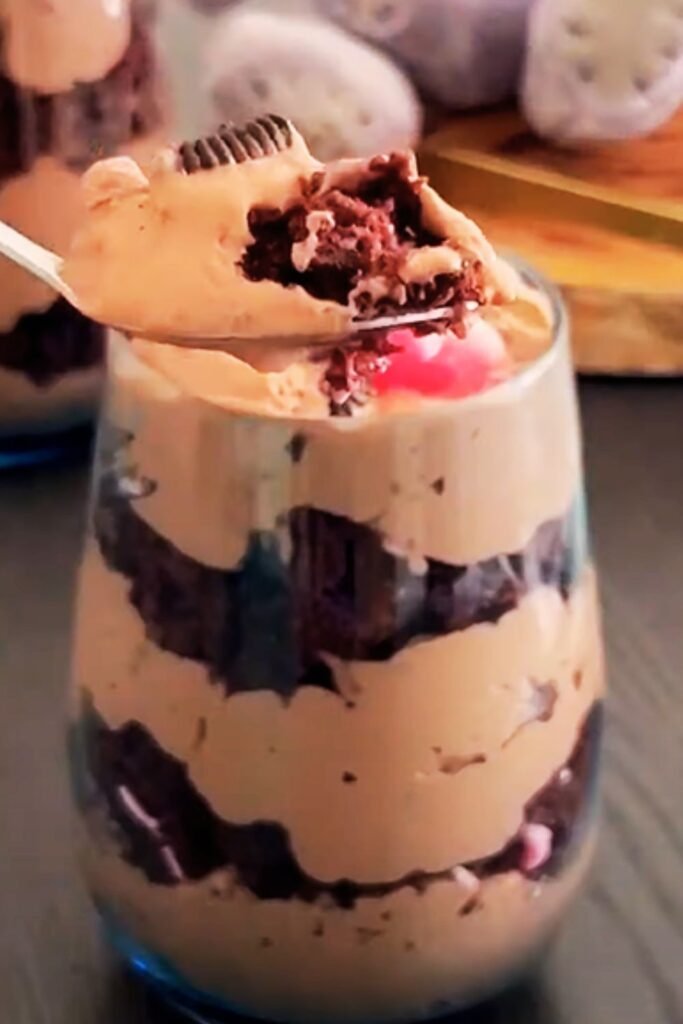
This strawberry twist on the classic tiramisu is lighter and fruitier than the original. The layers create a beautiful visual effect that’s perfect for Valentine’s Day.
Ingredients
- 8 oz mascarpone cheese, softened
- 1 cup heavy cream
- 1/3 cup powdered sugar
- 1 teaspoon vanilla extract
- 24 ladyfinger cookies
- 1/2 cup strong coffee or espresso, cooled
- 2 tablespoons strawberry liqueur (optional)
- 2 cups sliced fresh strawberries
- 2 tablespoons sugar
- Cocoa powder for dusting
- Chocolate curls for garnish
Instructions
- In a bowl, combine sliced strawberries with 2 tablespoons sugar, stir and let sit for 15 minutes to release juices
- In a large bowl, beat mascarpone cheese until smooth
- In a separate bowl, whip heavy cream with powdered sugar and vanilla until stiff peaks form
- Fold whipped cream into mascarpone mixture until well combined
- Mix cooled coffee with strawberry liqueur (if using)
- Quickly dip ladyfingers in coffee mixture (don’t soak)
- Layer parfait glasses: broken ladyfingers, mascarpone mixture, strawberries with juice
- Repeat layers, ending with mascarpone cream
- Refrigerate for at least 4 hours or overnight
- Before serving, dust with cocoa powder and top with chocolate curls
Make-Ahead Tip
These parfaits actually taste better when made a day ahead, allowing the flavors to meld and the ladyfingers to soften to the perfect texture. Just add the final cocoa powder dusting right before serving.
6. No-Bake Raspberry Cheesecake
This show-stopping dessert looks like it took hours to prepare, but it’s surprisingly simple. The vibrant raspberry layer creates a striking presentation.
Ingredients
For the crust:
- 2 cups graham cracker crumbs
- 1/2 cup melted butter
- 2 tablespoons sugar
For the filling:
- 16 oz cream cheese, softened
- 1 cup powdered sugar
- 1 teaspoon vanilla extract
- 2 cups heavy cream, whipped to stiff peaks
- 1 envelope unflavored gelatin
- 1/4 cup cold water
For the raspberry layer:
- 2 cups fresh or frozen raspberries
- 1/2 cup sugar
- 2 tablespoons lemon juice
- 1 envelope unflavored gelatin
- 3 tablespoons cold water
Instructions
- Mix graham cracker crumbs, melted butter, and sugar
- Press firmly into the bottom of a 9-inch springform pan
- Refrigerate while preparing the filling
- In a small bowl, sprinkle gelatin over cold water and let stand for 5 minutes
- Microwave for 10 seconds or until gelatin dissolves, then cool slightly
- Beat cream cheese, powdered sugar, and vanilla until smooth
- Slowly beat in the gelatin mixture
- Fold in whipped cream until fully incorporated
- Pour over the crust and smooth the top
- Refrigerate for 1 hour
- For the raspberry layer: Blend raspberries, strain to remove seeds
- In a saucepan, combine raspberry puree, sugar, and lemon juice
- Heat until sugar dissolves, remove from heat
- Sprinkle gelatin over cold water, let stand 5 minutes
- Stir dissolved gelatin into warm raspberry mixture
- Cool to room temperature
- Carefully pour over set cheesecake layer
- Refrigerate for at least 4 hours or overnight
Comparison Table: Traditional Cheesecake vs. No-Bake Version
| Feature | Traditional Cheesecake | No-Bake Cheesecake |
|---|---|---|
| Preparation Time | 30-45 minutes | 25-30 minutes |
| Cooking Time | 45-60 minutes | 0 minutes |
| Cooling Time | 1-2 hours | 4-6 hours |
| Texture | Dense, rich | Lighter, creamier |
| Risk of Cracking | High | None |
| Skill Level | Intermediate | Beginner |
| Required Equipment | Springform pan, oven | Springform pan, refrigerator |
| Make-Ahead | 1-2 days | Up to 3 days |
7. Chocolate-Dipped Rice Krispie Hearts
These cute heart-shaped treats are fun to make and eat. They’re particularly great if you’re celebrating Valentine’s Day with kids.
Ingredients
- 4 tablespoons butter
- 1 (10 oz) package marshmallows
- 6 cups Rice Krispies cereal
- 1/2 teaspoon vanilla extract
- Few drops red food coloring (optional)
- 8 oz chocolate (milk, dark, or white), chopped
- Sprinkles, for decoration
Instructions
- Line a large baking sheet with parchment paper
- In a large pot, melt butter over low heat
- Add marshmallows and stir until completely melted
- Remove from heat and stir in vanilla and food coloring if using
- Add Rice Krispies and stir until evenly coated
- Allow mixture to cool slightly (about 2-3 minutes)
- Press mixture into a greased 9×13 inch pan, about 1/2 inch thick
- Once cooled but still pliable, use a heart-shaped cookie cutter to cut out shapes
- Place hearts on prepared baking sheet
- Melt chocolate in a microwave-safe bowl in 30-second intervals, stirring between each
- Dip half of each heart into melted chocolate
- Place back on parchment paper and add sprinkles before chocolate sets
- Allow chocolate to fully set at room temperature or in refrigerator
Flavor Variations
Here are some ways to customize these treats:
- Add 1/2 teaspoon almond extract for a subtle cherry flavor
- Mix in 1/3 cup freeze-dried strawberries (crushed) with the cereal
- Swirl in 2 tablespoons of peanut butter with the melted marshmallows
- Use Cocoa Krispies instead of regular Rice Krispies for a chocolate version
The Science Behind No-Bake Desserts
Have you ever wondered how no-bake desserts set without heat? Here’s a quick explanation of the science behind some common setting agents:
Setting Agents in No-Bake Desserts
| Setting Agent | How It Works | Used In | Setting Time |
|---|---|---|---|
| Gelatin | Proteins form a matrix when cooled | Cheesecakes, mousses | 4-6 hours |
| Chocolate | Cocoa butter solidifies when cooled | Chocolate-dipped treats, ganache | 30 min-2 hours |
| Cream Cheese | High fat content firms when chilled | Cheesecakes, frostings | 2-4 hours |
| Condensed Milk | Sugar concentration changes texture when chilled | Pie fillings, ice cream | 3-8 hours |
| Agar-Agar | Plant-based gelatin alternative | Vegan desserts | 1-2 hours |
Make-Ahead Tips for Valentine’s Day Success
For a stress-free Valentine’s Day, here’s a timeline for preparing these desserts:
- 2 days before: Make Red Velvet Truffles and store in refrigerator
- 1 day before: Prepare No-Bake Cheesecake, Chocolate Mousse, and Strawberry Tiramisu Parfaits
- Morning of Valentine’s Day: Make Chocolate-Dipped Rice Krispie Hearts
- 2-3 hours before serving: Prepare Chocolate-Covered Strawberry Cheesecake Cups
- 1 hour before serving: Assemble final garnishes and decorations
Special Diet Adaptations
Love knows no dietary restrictions! Here’s how to adapt these recipes for different needs:
Dairy-Free Options
- Use coconut cream instead of heavy cream
- Substitute dairy-free cream cheese alternatives
- Choose dairy-free chocolate for dipping and ganaches
Gluten-Free Options
- Use gluten-free cookies for crusts
- Verify that all packaged ingredients are certified gluten-free
- For Rice Krispie treats, use a gluten-free rice cereal
Vegan Options
- Use agar-agar instead of gelatin
- Choose plant-based butter alternatives
- Select vegan cookie options for crusts
- Use coconut cream whipped with powdered sugar as a cream substitute
Q&A Section
Q: Can I make these desserts in advance?
Absolutely! Most of these desserts actually benefit from being made in advance. The Strawberry Tiramisu Parfaits and No-Bake Raspberry Cheesecake are best when made a day ahead, while the truffles can be made up to a week in advance.
Q: I don’t have a springform pan. What can I use instead?
If you don’t have a springform pan, you can use a regular pie dish or even create individual servings in small jars or glasses. The only challenge will be serving from a standard pan, but if presentation isn’t a priority, it will taste just as delicious!
Q: How can I make these desserts more colorful for Valentine’s Day?
To add more Valentine’s Day flair, consider using pink or red food coloring in white chocolate for drizzling, adding heart-shaped sprinkles, incorporating freeze-dried strawberry or raspberry powder into white components, or using edible rose petals as a garnish.
Q: What if my chocolate seizes when I’m melting it?
If your chocolate seizes (becomes grainy or clumpy), you can sometimes rescue it by adding a teaspoon of neutral vegetable oil and stirring vigorously. For future melting, ensure all utensils are completely dry and avoid getting any water in your chocolate.
Q: Can kids help make these desserts?
Definitely! The Rice Krispie Hearts and Red Velvet Truffles are particularly kid-friendly projects. Children can help mix ingredients, roll the truffles, cut out heart shapes, and add decorative sprinkles.
Q: How do I achieve the perfect consistency for no-bake cheesecake?
The key to perfect no-bake cheesecake texture is properly softened cream cheese (leave it out for at least an hour before using) and making sure to whip it until completely smooth before adding other ingredients. Also, be patient with the chilling time—at least 4 hours, but preferably overnight.
Final Thoughts
Valentine’s Day doesn’t need to involve complicated baking to be special. These no-bake desserts offer all the romance, flavor, and visual appeal of traditional Valentine’s treats without the stress or time commitment of baking. Whether you’re celebrating with a partner, friends, family, or treating yourself, these desserts are sure to make the day memorably sweet.
Remember, the most important ingredient in any Valentine’s Day celebration is thoughtfulness. Taking the time to create something delicious—even if it’s simple—shows how much you care. And with these easy recipes in your arsenal, you can focus less on cooking and more on connecting with the people you love.
Happy Valentine’s Day!